Why Adding a Riser Block Changes Everything
If you have ever tried to resaw a thick piece of hardwood only to find your bandsaw falls short by an inch or two, you know the frustration of limited cutting capacity. Installing a bandsaw riser is one of the most effective upgrades you can make to your saw, transforming a modest 14-inch machine into something far more capable without buying an entirely new tool. This modification adds several inches to your resaw height, opening up possibilities for bookmatched panels, thick lumber processing, and veneer production that simply were not available before. The process is straightforward for anyone comfortable with basic mechanical work, though it does require attention to alignment and proper blade selection to get the best results.
Essential Tools and Materials for the Installation
- Socket wrench set with metric and standard sizes
- Allen key set matching your saw’s hardware
- Torque wrench for proper tension specifications
- New longer blade sized for your increased capacity
- Clean rags and degreaser
- Thread locker compound
- Feeler gauges for alignment checks
- Straight edge or precision ruler
- Replacement guide blocks or bearings if worn
- Owner’s manual or specification sheet for your specific model
Understanding What a Riser Block Actually Does
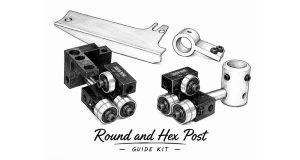
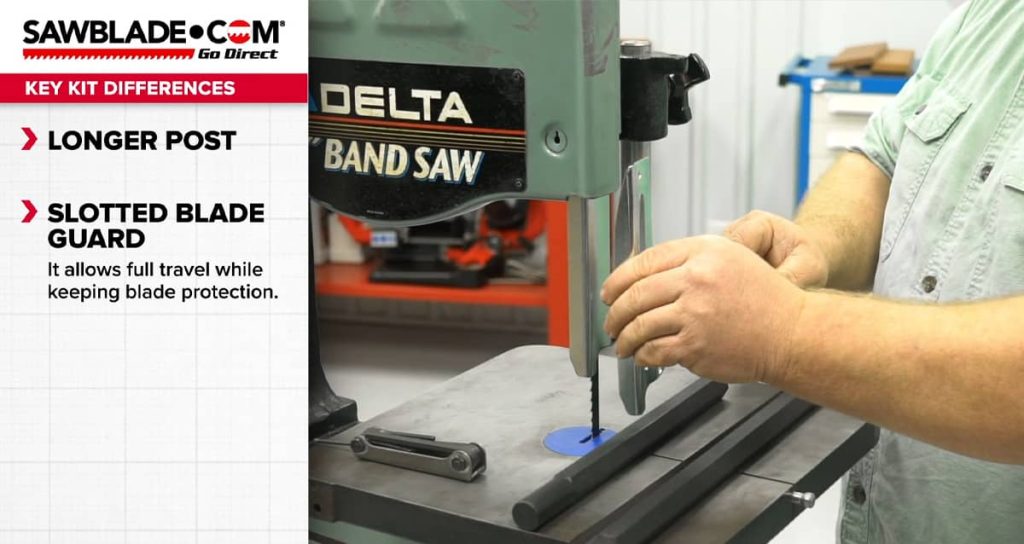
A bandsaw riser block is essentially a cast iron or aluminum spacer that fits between the upper and lower frame sections of your saw. When installed, it physically increases the distance between the table and the upper blade guides, giving you more vertical clearance for thicker stock. Most riser kits add between four and six inches of capacity, which means a standard 14-inch bandsaw with a six-inch resaw height can suddenly handle stock up to ten or twelve inches tall. The kit typically includes the riser block itself, a longer guide post, extended blade guard, and all necessary mounting hardware. Some manufacturers also include a longer blade with the kit, while others require you to purchase one separately.
Quick Check
Before removing the upper housing, what’s the first safety step listed in the article?
Choosing the Right Riser Kit for Your Bandsaw Model
Not every riser block fits every bandsaw, so matching the kit to your specific machine is essential before ordering. Most 14-inch bandsaws from major manufacturers have aftermarket riser options available, but the castings and bolt patterns differ between brands and even between production years of the same model. Measure your current frame carefully and compare those dimensions to the riser kit specifications. Pay attention to whether the kit is designed for a two-piece or three-piece frame design, as this affects how the installation proceeds. Some generic riser kits claim universal compatibility, but these often require additional modification or shimming to work properly, so brand-specific options tend to produce better results with less hassle.
Riser Block Specifications by Common Bandsaw Size
| Bandsaw Size | Typical Added Height | New Blade Length | Recommended Blade Width | Approximate Kit Weight |
| 12-inch | 4 inches | 93 to 96 inches | 1/4 to 1/2 inch | 8 to 12 lbs |
| 14-inch | 6 inches | 105 to 111 inches | 3/8 to 3/4 inch | 15 to 22 lbs |
| 16-inch | 6 inches | 111 to 116 inches | 1/2 to 1 inch | 18 to 25 lbs |
| 17-inch | 6 inches | 131 to 137 inches | 1/2 to 1 inch | 20 to 28 lbs |
Preparing Your Bandsaw for Disassembly
Before you start removing any bolts, take the time to thoroughly clean your bandsaw and document its current setup. Photograph the blade tension setting, guide positions, and any alignment marks you can identify. Remove the existing blade and set it aside carefully since you may want to keep it for smaller projects. Unplug the machine and release all tension from the upper wheel mechanism. Clear your workspace and have a designated area for hardware so nothing gets lost during the process. If your saw has accumulated years of sawdust and pitch buildup, now is an excellent time to clean the wheels, guides, and interior frame surfaces while everything is accessible.
Quick Check
You should attempt a full-depth resaw cut immediately after installation to test the machine under real conditions.
Step by Step Riser Block Installation Process
- Remove the blade guard and upper guide assembly completely
- Loosen and remove the bolts connecting the upper frame section to the lower casting
- Carefully lift the upper frame section straight up and set it on a padded surface
- Position the riser block on the lower frame, aligning all bolt holes precisely
- Apply thread locker to the lower mounting bolts and hand tighten them
- Lower the upper frame section onto the riser block
- Insert and hand tighten all upper mounting bolts
- Torque all bolts in a cross pattern to the manufacturer’s specifications
- Install the extended guide post that came with your kit
- Mount the longer blade guard onto the new guide post
- Install your new longer bandsaw blade through the guides
- Adjust tension according to the blade width and material specifications
Aligning Your Bandsaw After Installing the Riser
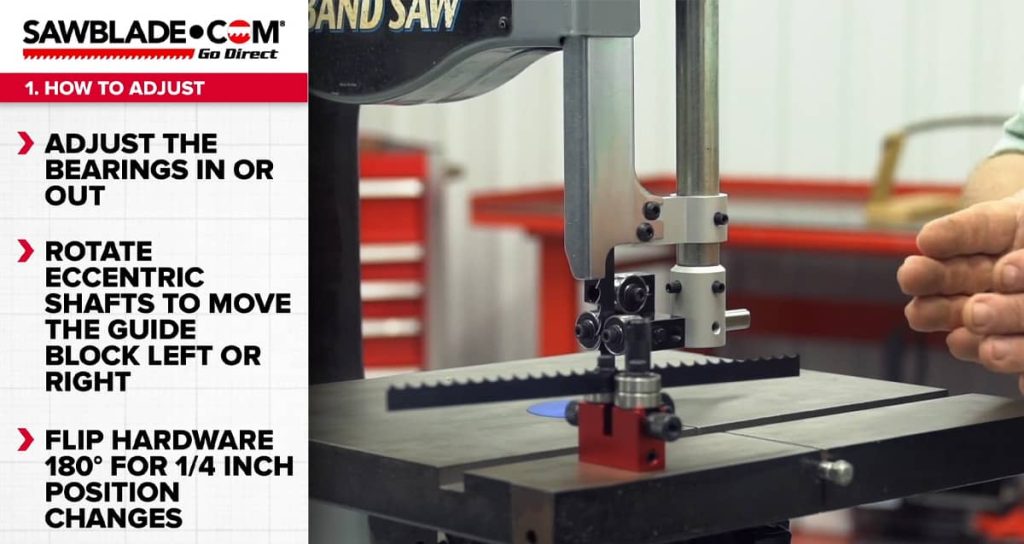
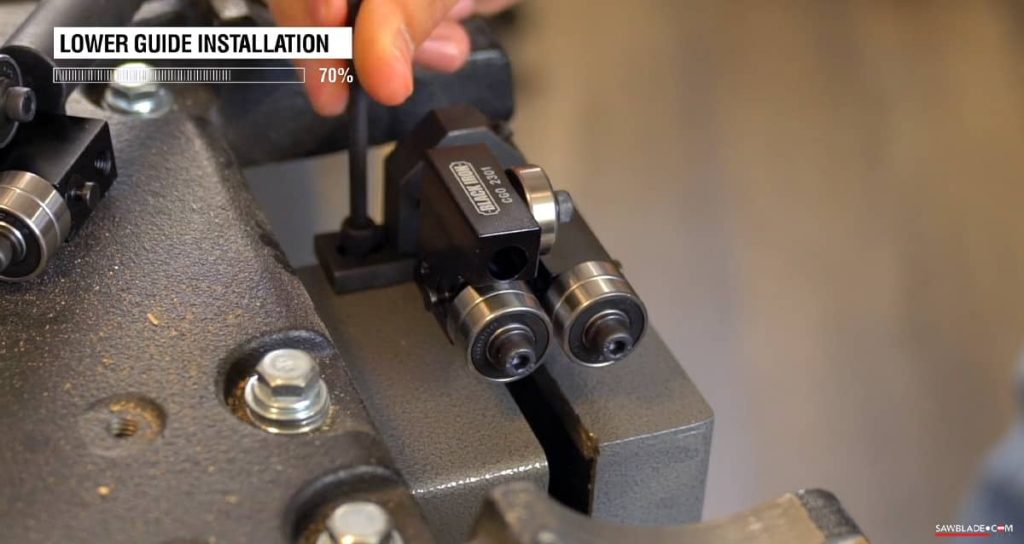
Proper alignment after a riser installation determines whether your saw cuts straight or wanders all over the workpiece. Start by checking that the upper and lower wheels sit in the same plane using a long straight edge held against both tire surfaces. If the wheels are not coplanar, you will need to adjust the upper wheel position until both surfaces touch the straight edge simultaneously. Next, set your blade tracking so the blade rides in the center of the upper wheel crown. With tracking set, adjust your guide blocks or bearings to sit just behind the blade gullets without touching the teeth. The thrust bearings should clear the back of the blade by about the thickness of a dollar bill when the blade is not cutting, then make contact only when feed pressure is applied.
ALSO WORTH READING
Exploring the Value of Quality Woodworking
If you’re curious about whether premium woodworking tools and materials are worth the investment, you might find our related article helpful. “Do Expensive Woodworking” takes a closer look at the real differences between budget and high-end options. It’s a quick read that could save you time and money on your next project.
Common Mistakes to Avoid During Installation
- Overtightening bolts before all hardware is seated, which can crack castings
- Neglecting to use thread locker on frame bolts that experience vibration
- Skipping the coplanar wheel check, leading to tracking problems
- Installing a blade that is too short for the new capacity
- Forgetting to readjust the blade guard height for the extended post
- Using worn guide blocks or bearings instead of replacing them during the upgrade
- Rushing through the alignment process and accepting mediocre cuts
- Ignoring unusual vibrations that indicate an unbalanced or improperly tensioned setup
Quick Check
What blade length is needed for a 6″ riser block on a standard 14″ bandsaw? Drag to answer.
Selecting the Right Blade for Your Increased Capacity
Your old blade will not work after installing a riser block since you need additional length to accommodate the taller frame. Consult your kit documentation or measure the new blade path carefully to determine the correct length. Beyond length, consider that your saw blade selection should match the type of work you plan to do with your increased capacity. For resawing thick stock, wider blades in the half-inch to three-quarter-inch range provide better beam strength and resist deflection. Narrower blades work fine for curved cuts but will struggle to track straight through deep resaws. Tooth configuration matters too, with three to four teeth per inch being ideal for most resawing applications in hardwoods.
Testing and Fine Tuning Your Upgraded Bandsaw
- Make test cuts in scrap material of increasing thickness
- Check for blade drift by cutting a straight line and observing any wandering
- Listen for unusual sounds that might indicate misalignment or improper tension
- Verify the blade guard adjusts smoothly through its full new range
- Test the fence alignment if you use one for resawing operations
- Confirm that vibration levels remain acceptable at full operating speed
- Check all fasteners for tightness after the first hour of use
- Document your final settings for future reference and blade changes
Making the Most of Your New Resaw Capacity
With your bandsaw riser properly installed and aligned, you now have access to woodworking possibilities that were previously out of reach. Thick slabs can be sliced into bookmatched panels for tabletops and cabinet doors. You can produce your own veneer from figured wood that would cost a fortune to buy commercially. Turning blanks can be roughed out from larger logs, and deep curves in thick stock become practical cuts instead of multi-step workarounds. Take the time to practice your technique on the taller cuts since resawing lumber at full capacity requires steady feed rates and properly tuned guides to produce smooth, consistent results. The investment in this upgrade pays dividends every time you process material that would have been impossible to cut before the modification.