Understanding Bandsaw Vibration Before You Panic
If your bandsaw has started shaking, rattling, or producing cuts that look more like a zigzag than a straight line, you are not alone. Bandsaw vibration is one of the most frequent complaints among woodworkers and metalworkers alike, yet it rarely signals the need to replace your machine. The good news is that most vibration problems stem from mechanical issues that can be diagnosed and corrected with basic tools and a systematic approach. Some amount of hum is perfectly normal, especially in older cast iron models, but excessive shaking, visible blade flutter, or a saw that slowly walks across your shop floor indicates something needs attention. Before you start shopping for a replacement, take a breath and work through the potential causes. In most cases, bandsaw vibration can be traced to a handful of common culprits that are surprisingly easy to fix once you know where to look.
The Most Common Causes of Bandsaw Vibration
When your bandsaw starts vibrating unexpectedly, these are the issues you should investigate first, roughly in order of likelihood based on real shop experiences.
- A damaged, kinked, or poorly welded blade creating uneven tension
- Insufficient blade tension that allows the blade to flutter during cuts
- Worn or hardened rubber tires on the bandsaw wheels
- An unstable stand, loose mounting bolts, or an uneven floor surface
- Cracked or worn drive belts transferring motor vibration
- Misaligned pulleys causing irregular power transfer
- Worn wheel bearings producing grinding or rumbling sounds
- Improperly adjusted guide bearings and thrust bearings
- Loose hardware throughout the frame, table, and motor mounts
- Resin or sawdust buildup on the wheels affecting rotation
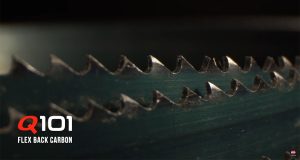
Why Your Blade Is Usually the First Suspect
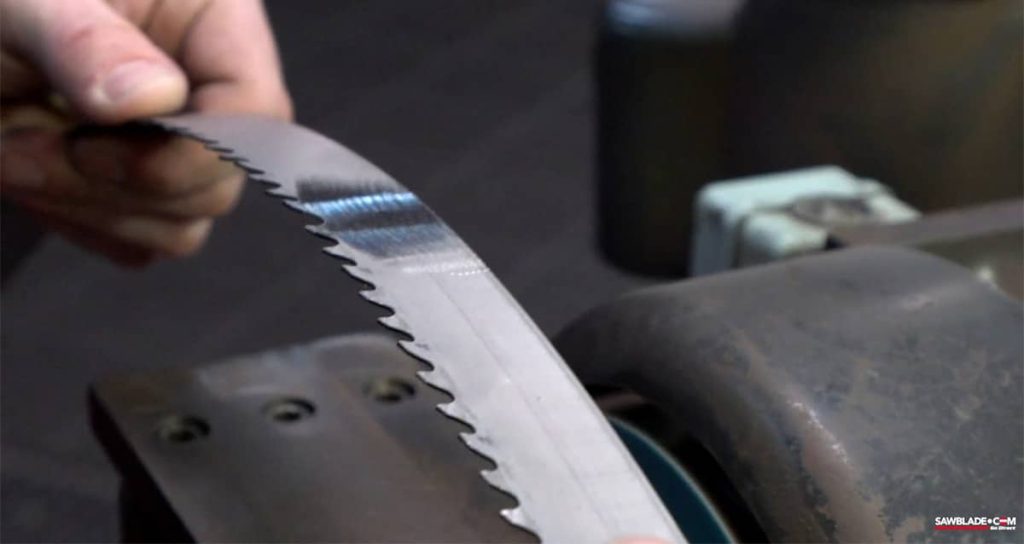
The blade itself is responsible for bandsaw vibration more often than most operators realize. A bad weld joint, even one that looks fine visually, can create a rhythmic bump every time it passes through the guides. Kinked blades, which sometimes arrive that way from budget suppliers or develop from improper storage, will never track true no matter how carefully you adjust everything else. The quickest diagnostic test is to rotate your blade slowly by hand while watching for any irregularities or feeling for bumps as the weld passes through. Better yet, swap in a known quality blade and run the saw. If the vibration disappears, you have found your answer without chasing phantom problems elsewhere in the machine.
Quick Check
What is the typical symptom of worn or deteriorated bandsaw wheel tires?
The Under Tensioning Problem Most Operators Overlook
Blade tension is one of those settings that seems adequate until you actually measure it properly, and most hobbyist shops run their blades far too loose. A properly tensioned blade should feel firm and springy, similar to a well tuned guitar string, with minimal deflection when you press it with your finger. The built in tension scales on most bandsaws are notoriously inaccurate, often reading correct when the blade is actually undertensioned by a significant margin. When tension is too low, the blade can flutter, twist during cuts, and create vibrations that feel like they originate from deeper in the machine. Invest in a blade tension gauge if you want precision, or simply increase tension incrementally until cuts become cleaner and vibration diminishes.
Quick Reference Guide for Bandsaw Vibration Diagnosis
| Symptom | Likely Cause | Recommended Fix |
| Rhythmic thump during operation | Bad blade weld or kink | Replace blade or have it professionally rewelded |
| Vibration stops when blade is removed | Blade related issue | Check blade condition, tension, and tracking |
| Grinding or rumbling noise | Worn wheel bearings | Replace bearings on affected wheel |
| Saw walks across the floor | Unstable stand or loose hardware | Tighten bolts, level base, add weight or rubber pads |
| Vibration present even with blade removed | Motor, belt, or pulley issue | Inspect belt for cracks, check pulley alignment |
| Chatter marks on cut surface | Guide bearings too far from blade | Adjust guides to minimal clearance |
| Visible wheel wobble | Worn tires or resin buildup | Clean wheels thoroughly or replace tires |
| High pitched whine with vibration | Misaligned or worn belt | Replace belt, consider upgrading to link belt |
How Wheel Condition Affects Smooth Operation
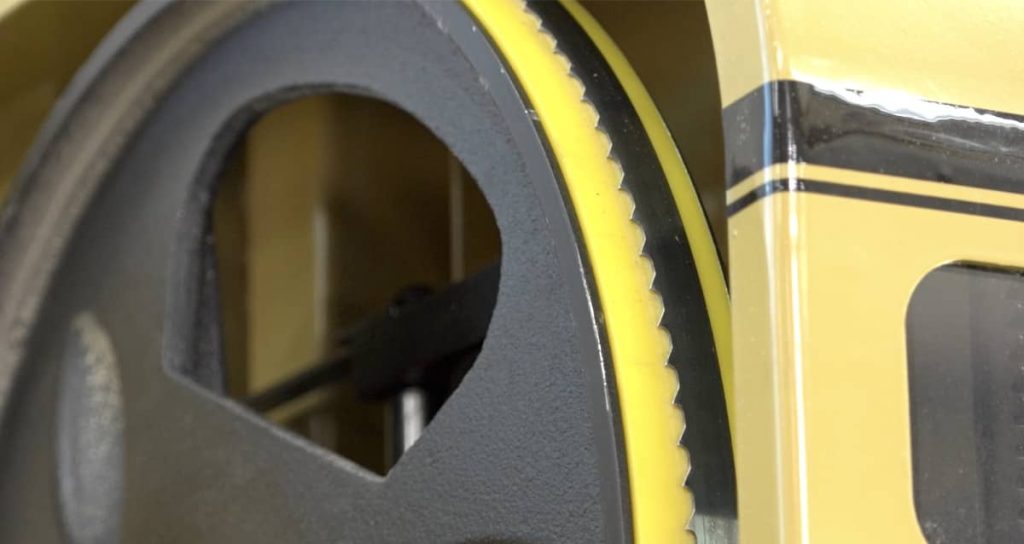
The rubber tires on your bandsaw wheels play a bigger role in smooth operation than their simple appearance suggests. Over time, these tires harden, develop flat spots, or accumulate layers of resin and sawdust that throw the wheels out of true. To check wheel condition, remove the blade and spin each wheel by hand while watching for wobble or feeling for irregularities in rotation. What looks like a wheel balance problem is often just buildup that can be scraped away with a stiff brush or plastic scraper. If your tires have hardened to the point where they feel almost plastic, replacement is straightforward and inexpensive. Fresh rubber tires grip the blade properly, allow accurate tracking adjustments, and eliminate one common source of bandsaw vibration.
Quick Check
Vibration that only appears at certain speeds often points to a resonance issue, not a mechanical defect.
Your Stand and Floor Might Be the Hidden Culprit
Sometimes the source of bandsaw vibration has nothing to do with the saw itself.
- Lightweight sheet metal stands flex under operation and amplify small vibrations into major shaking
- Uneven concrete floors allow the saw to rock slightly with each blade cycle
- Loose anchor bolts at the base let the entire assembly shift during cuts
- Missing rubber pads between the stand and floor transmit vibrations directly into the structure
- Proximity to other running machinery can create sympathetic vibrations
Fixes for stand related problems are usually simple and cheap. Tighten every bolt you can find, check that all four feet contact the floor solidly, and add rubber isolation pads beneath the base. Some operators swear by filling hollow stand legs with sand or attaching sandbags to the base to add mass and dampen vibrations.
Motor and Belt Problems That Create Hidden Vibration
When bandsaw vibration persists even after you have ruled out blade issues, the drive system deserves close inspection. The V belt connecting your motor to the lower wheel can develop cracks, glazed surfaces, or stretched sections that create irregular power delivery. Remove the belt and examine it in good light, flexing it to reveal hidden damage. Pulley alignment matters too, and even a small misalignment forces the belt to work at an angle that generates vibration and premature wear. One of the most effective upgrades many woodworkers recommend is switching from a standard V belt to a link belt, which absorbs vibration better and can be sized precisely to your machine. While you have access to the drive area, check that motor mounts are tight and that the motor itself runs smoothly when disconnected from the saw.
ALSO WORTH READING
Upgrading Your Band Saw Setup?
If you own a Grizzly 14-inch band saw or you’re considering one, you’ll want to get the most out of your machine. We put together a detailed guide covering the best modifications and blade selections to help you improve performance and cut quality. It’s worth a read whether you’re a new owner or looking to fine-tune a saw you’ve had for years.
Signs That Your Bearings Need Attention
Bearings wear out gradually, which means the vibration they cause creeps up so slowly you might not notice until performance has degraded significantly.
- A grinding or rumbling sound distinct from normal blade noise indicates bearing wear
- Spinning the wheels by hand reveals roughness or resistance
- Side to side play in the wheel when you grip it and wiggle suggests bearing failure
- Heat buildup around the wheel hubs after running points to friction from damaged bearings
The good news is that bandsaw wheel bearings are standardized, inexpensive, and available at bearing supply houses for a fraction of what manufacturers charge. Replacing them requires basic mechanical skills and common tools, and the improvement in smoothness is often dramatic.
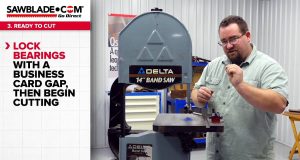
Guide and Thrust Bearing Adjustments You Should Not Skip
Guide bearings and thrust bearings support your blade during cuts, and when they are set improperly, the chatter they produce can feel exactly like internal vibration. Your blade guides should sit close to the blade with minimal clearance, typically just enough to slide a piece of paper between them. Thrust bearings behind the blade should not spin during normal operation and should only contact the blade when cutting pressure pushes it backward. Choosing the right blade for your specific application also matters here, as blades that are too wide or too narrow for your guides will never track smoothly regardless of adjustment. Take time to set up your guides correctly after every blade change, and this common source of apparent vibration will disappear.
Quick Check
How often should you clean bandsaw wheel surfaces to prevent resin buildup? Drag to answer.

A Simple Diagnostic Routine That Saves Time
Before you start replacing parts or making major adjustments, run through this systematic check to identify where your bandsaw vibration actually originates.
- Remove the blade entirely and run the saw for a few seconds
- If vibration stops, focus your attention on blade quality, tension, and tracking
- If vibration continues, remove the belt and run just the motor
- A vibrating motor suggests worn motor bearings or internal motor issues
- If the motor runs smooth, reinstall the belt and check for vibration
- Belt vibration points to worn belts or pulley misalignment
- With the belt installed, spin each wheel by hand and check for wobble or roughness
- Finally, systematically tighten all hardware including table trunnions, frame bolts, and motor mounts
This routine takes about fifteen minutes and will point you directly toward the source of your problem rather than having you guess and replace parts randomly.
When to Seek Professional Help or Consider Replacement
Most bandsaw vibration problems are fixable by anyone comfortable with basic mechanical work, but some situations call for professional assessment.
- Bent wheel shafts require machining or specialized tools to correct
- Cracked frames or castings create vibration that no adjustment can fix
- Motor bearing replacement on older units may require skills beyond typical shop work
- Extensive bearing wear throughout the machine may make repair costs approach replacement value
- If you have worked through every common cause without improvement, a second set of experienced eyes often spots what you missed
For visual learners who want to see these repairs demonstrated, Sawblade.tv offers tech tip videos that walk through many of these procedures step by step. Sometimes watching someone else work through the same problem makes the solution obvious.
Getting Your Bandsaw Running Smooth Again
Bandsaw vibration rarely means your machine has reached the end of its useful life. In most cases, the fix is simpler and cheaper than you might expect, whether that means installing a quality replacement blade from a reputable supplier, properly tensioning what you already have, or tracking down loose hardware you never knew had worked itself free. Work through potential causes systematically, starting with the blade and tension before moving to wheels, belts, and bearings. Document what you find as you go, since understanding your particular machine’s quirks will make future troubleshooting faster. With patience and attention to detail, that smooth, quiet operation you remember from when your saw was new is almost certainly within reach again.