Understanding What Makes a Miter Saw Worth Your Investment
Buying a miter saw is one of those decisions that can either streamline your woodworking projects or leave you frustrated for years. The difference between a good purchase and a regrettable one often comes down to understanding which miter saw features actually matter for your specific work. Too many buyers focus on brand names or price tags while overlooking the technical specifications that determine real-world performance. Whether you are framing walls, installing crown molding, or building furniture, knowing what to look for will help you choose a saw that matches your needs without overspending on capabilities you will never use.
Essential Blade Size Options for Different Project Types
When evaluating miter saw features, blade diameter should be your starting point since it determines your maximum cutting capacity.
- 7.25 inch blades work well for light trim work and smaller cross cuts, typically handling boards up to 2×4 dimensions
- 10 inch blades offer a good balance between portability and capacity, cutting through 4×4 lumber at 90 degrees
- 12 inch blades provide the largest cutting capacity, handling 2×8 boards at 45 degrees and 2×12 lumber at 90 degrees
- Blade thickness affects kerf width, with thin kerf blades removing less material and requiring less motor power
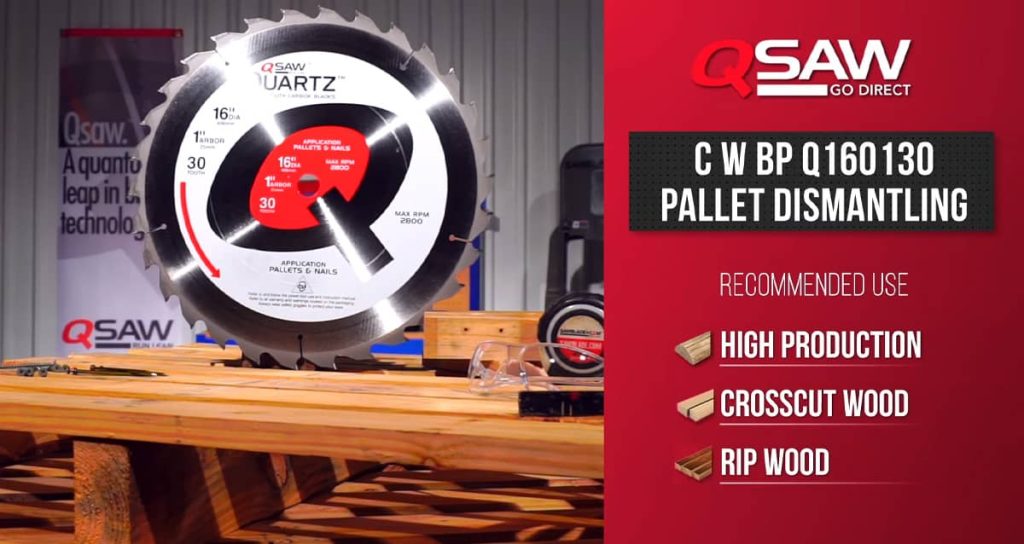
- Tooth count matters significantly, where 24 to 40 teeth work for rough framing and 60 to 80 teeth produce cleaner finish cuts
The Real Difference Between Sliding and Non-Sliding Models
One of the most significant miter saw features to understand is the sliding mechanism that extends cutting width beyond what the blade diameter alone allows. A standard 12 inch miter saw might cut boards up to 8 inches wide, but add sliding rails and that capacity jumps to 12 or even 16 inches depending on the model. This extra reach becomes necessary when working with wider crown moldings, baseboards, or sheet goods. However, sliding saws require more workspace behind the saw for the rail travel, take up more room during transport, and introduce additional components that can affect accuracy if not properly maintained. For trim carpenters who regularly work with wide materials, the sliding function pays for itself quickly. For those primarily cutting dimensional lumber, a fixed head saw often delivers better precision with less fuss.
Quick Check
What does the sliding rail feature let a 10 inch miter saw do?
Single Bevel Versus Dual Bevel Configurations
Bevel capacity ranks among the miter saw features that separate occasional users from serious woodworkers. Single bevel saws tilt in one direction only, meaning you must flip your workpiece to make opposing angle cuts. Dual bevel models tilt both left and right, allowing you to cut compound angles without repositioning your material. This might sound like a minor convenience, but when you are cutting dozens of crown molding pieces with matching angles on each end, the time savings and reduced error potential become substantial. Most dual bevel saws tilt 45 to 48 degrees in each direction, with some models offering positive stops at common angles like 22.5, 33.9, and 45 degrees. These preset detents allow faster setups when working through repetitive cuts.
Cutting Capacity Specifications Compared by Saw Type
Understanding how different miter saw features translate to actual cutting dimensions helps match the tool to your project requirements.
| Saw Type | Blade Size | Cross Cut at 90° | Cross Cut at 45° | Bevel Cut at 45° | Typical Weight |
| Compact Non-Sliding | 7.25 inch | 2×4 lumber | 2×3 lumber | 2×3 lumber | 20 to 25 lbs |
| Standard Non-Sliding | 10 inch | 2×6 lumber | 2×4 lumber | 2×4 lumber | 28 to 35 lbs |
| Standard Non-Sliding | 12 inch | 2×8 lumber | 2×6 lumber | 2×6 lumber | 40 to 50 lbs |
| Sliding Compound | 10 inch | 12 inch wide | 8 inch wide | 8 inch wide | 45 to 55 lbs |
| Sliding Compound | 12 inch | 16 inch wide | 12 inch wide | 12 inch wide | 55 to 70 lbs |
Motor Power and How It Affects Cut Quality
Motor specifications represent miter saw features that directly impact performance, particularly when cutting dense hardwoods or making repeated cuts through thick material. Most corded miter saws range from 10 to 15 amps, with higher amperage generally indicating more sustained cutting power. However, amp ratings alone do not tell the whole story since motor efficiency and blade quality also determine how smoothly the saw handles challenging cuts. A well-designed 12 amp motor paired with a sharp, quality blade often outperforms a 15 amp motor running a dull or inappropriate blade. Battery powered miter saws have improved dramatically, with some 36 to 60 volt models approaching corded performance, though they typically cost more and require battery management. For shop use where outlets are available, corded models still offer the best value and consistent power delivery.
Quick Check
Most miter saws, whether 10 inch or 12 inch, use a 5/8 inch arbor.

Fence Design and Support Features That Matter
The fence system often gets overlooked when comparing miter saw features, but it directly affects accuracy and safety during every cut.
- Tall fences provide better support for crown molding and large trim pieces, with heights ranging from 4 to 6 inches on different models
- Sliding fence sections allow the fence to move aside when the blade tilts for bevel cuts, preventing interference
- Fence flatness determines how consistently your cuts match your angle settings, making machined aluminum fences preferable to stamped steel
- Extension wings add workpiece support for longer boards, with some models including flip stops for repetitive length cuts
- Material clamp mounting points allow secure workpiece holding, which is especially valuable when cutting small pieces
Dust Collection Realities and Workarounds
Dust management stands out among miter saw features where manufacturer claims often diverge from actual performance. Most miter saws capture somewhere between 50 and 75 percent of the sawdust they generate, even when connected to shop vacuums or dust collectors. The nature of the spinning blade simply throws particles in multiple directions that no shroud can fully contain. Some saws handle dust better than others, with rear-facing dust ports and enclosed blade guards generally outperforming open designs. Positioning your saw near a shop door or using an auxiliary dust collector hood behind the work area helps manage what the saw itself misses. Reading user reviews specifically about dust collection gives more realistic expectations than relying on specification sheets.
ALSO WORTH READING
Get Your Bandsaw Guides Dialed In
If you’re struggling with blade drift or inconsistent cuts, your guide setup might be the culprit. Properly adjusted guides make a noticeable difference in how your bandsaw performs, especially during resawing or detailed curve work. Take a few minutes to read through the Bandsaw Guide Setup Guide for a clear walkthrough on improving tracking and cutting accuracy.
Precision Adjustment Systems Worth Evaluating
Accuracy depends heavily on the adjustment mechanisms built into different miter saw features, and quality varies significantly across price ranges.
- Miter scale readability affects how precisely you can set angles, with laser-etched scales and magnified indicators on better saws
- Detent override allows micro-adjustments near preset angles, which matters when your project requires 44.5 degrees instead of exactly 45
- Bevel scale visibility is often poor since scales hide behind the motor housing on many models
- Blade visibility near the cut line varies with lighting, motor placement, and guard design
- Laser guides or LED shadow lines help with cut placement, though experienced users often find them unnecessary after initial setup
Quick Check
What detent angle is used for crown molding nested flat against the fence? Drag to answer.
Portability Versus Stability Trade-Offs
Weight and construction materials create tension among miter saw features that every buyer must balance based on how and where they work. A 70 pound sliding compound miter saw delivers impressive cutting capacity and stability but becomes a burden when moving between job sites or up staircases. Lighter saws in the 25 to 40 pound range transport easily but may vibrate more during cuts and lack the mass to dampen blade harmonics. Die-cast aluminum bases offer good rigidity at moderate weights, while stamped steel bases cut costs but may flex slightly under load. If your saw will live permanently in a workshop, choosing the right blade and saw combination for stability makes sense. Mobile professionals might prioritize lighter models or invest in quality rolling stands that make heavier saws manageable.
Safety Features You Should Actually Use
Modern miter saws include multiple safety features that protect users when properly employed.
- Electric brakes stop the blade within 2 to 3 seconds after releasing the trigger, compared to 10 to 12 seconds of coasting on saws without this feature
- Blade guards retract automatically during cuts and return when the blade rises, keeping fingers away from moving teeth
- Spindle locks hold the blade stationary during blade changes, preventing accidental rotation
- Trigger locks require deliberate activation before the saw will start, reducing accidental startup risks
- Lower blade guards cover the portion of the blade below the table surface, though users sometimes remove these inappropriately
- Work clamps secure materials during cutting, which prevents kickback and improves cut consistency
Making Your Final Selection Based on Actual Needs
After considering all the miter saw features discussed above, the best choice comes down to honestly assessing your typical projects and work environment. A weekend hobbyist building picture frames has vastly different needs than a finish carpenter installing custom cabinetry or a framer cutting hundreds of studs daily. Start by listing the materials you cut most often and their typical dimensions, then match those requirements to cutting capacity specifications. Consider where you will use the saw, how often you will move it, and whether dust collection matters for your space. Test saws in person when possible, paying attention to sight lines, fence quality, and how the controls feel during adjustments. The right miter saw becomes an extension of your capabilities, making precise cuts consistently without fighting the tool. Take your time with this decision, and you will end up with equipment that serves your needs for many productive years ahead.